Creating and editing objects in 3DS MAX is based on modifiers, and there are A LOT of them. Below we have provided descriptions of all the object-space modifiers and some tips on what they can be used for.
Affect Region – deforms the object or surface. It moves the vertices as if they were chosen through Soft Selection. Pinch and Bubble controls the shape of deformation, Falloff regulates the size of it. To make the effect more noticeable, increase the polygon count.
Attribute Holder – modifier for creating user parameters, buttons and functions. You can add any 3DS MAX function to this modifier as a slider, data field, list, etc. Often used in animation or big projects.
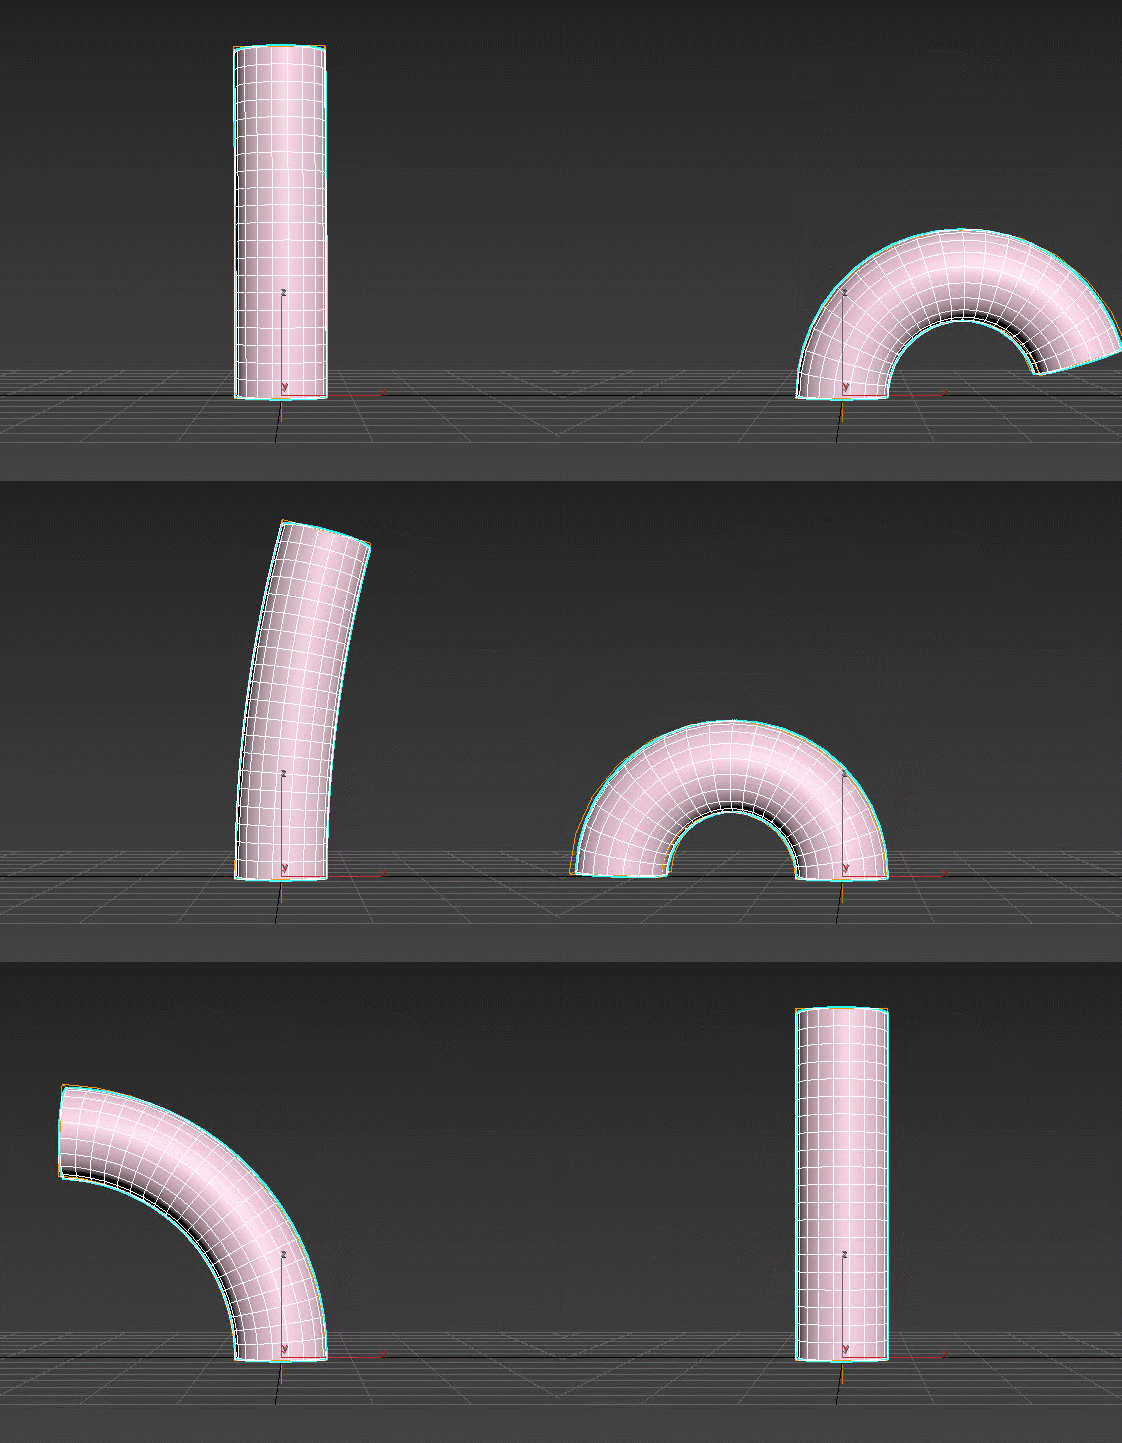
Bend – bends the object around the selected axis. You choose the angle and direction of bending and can limit the area of effect. To make the effect more noticeable, increase the polygon count.
Bevel – extrudes the spline and adds volume to it. You control the angle of the extruded faces on three separate levels and the amount of edges created. Modifier automatically chamfers edges between the levels and generates mapping coordinates.
Bevel Profile – a useful tool for creating baseboards and frames. The old version was similar to Sweep, but with fewer parameters. As for 3ds Max rendering - 3DS MAX 2017 introduced new Bevel Profile with extended options. Use Bevel Profile Editor to create your unique profile. You can also control the size of the final object, the profile’s direction, and set different material IDs for each element. Deleting the profile will remove the effect.
Camera Map Modifier (Object Space) – aligns an object’s texture with the background as seen from a selected camera. The object will become invisible if it has the same material as the background/environment. This happens because the modifier projects the texture onto the object from the camera view.
Cap Holes – creates a cap over the hole in the surface. Works the same way as the Cap tool in Edit Poly, but it has all the pros of modifiers: can be concealed, applied to a wider selection of polygons at any time, used in animation.
Chamfer – adds additional edges to “smooth” the angle. You can choose the width, the amount of new edges, and the tension. For example, with the value of 2 or 3 in Segments and 0.5 in Tension, you can create realistic corners for frame furniture. Smooth option prevents artifacts from appearing on the surfaces. The modifier is not equal to Chamfer in Edit Poly, so modelers use both for different situations.
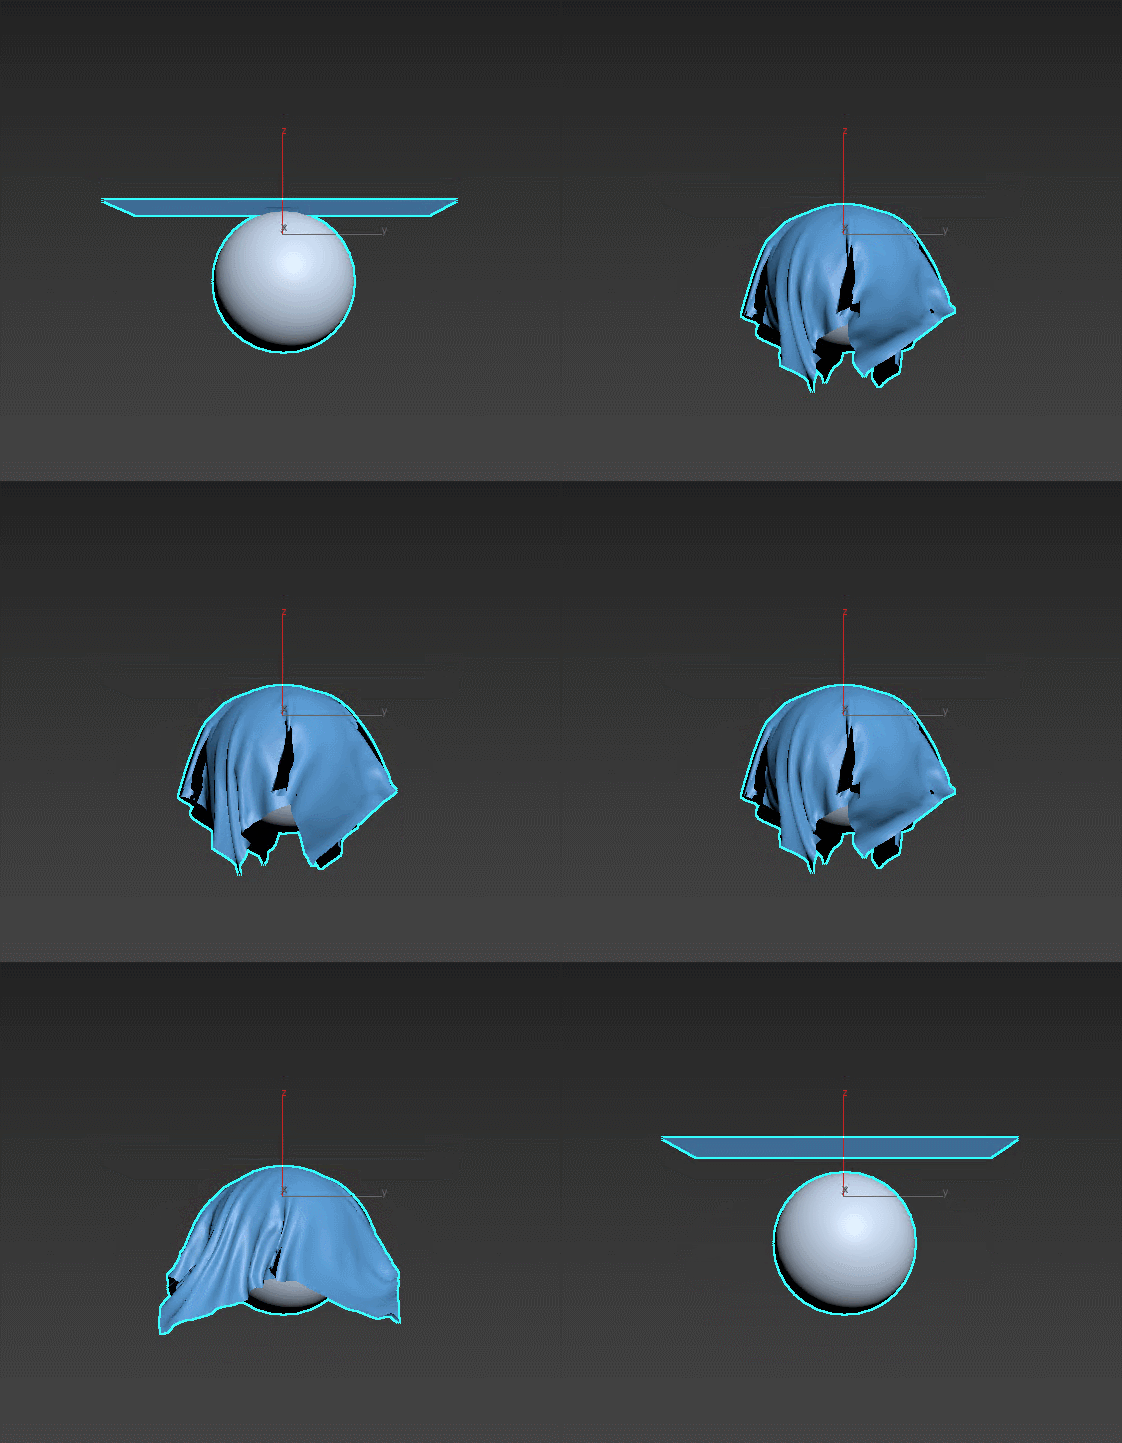
Cloth – a powerful tool for fabric simulation. Suitable for giving volume to soft furniture, creating curtains and blankets, simulating creases on surfaces. Select firm edges or collision objects for the soft object to interact with.
CrossSection – creates a surface from several splines. Splines must be a part of the same object, i.e. united through Attach. Together, CrossSection and Surface modifiers are referred to as Surface Tools.
Delete Mesh/Patch/Spline – deletes the part of mesh, patch, or spline selected through a previous modifier (e.g. Edit Mesh). Modifier works the same way as usual Delete, but has all the pros of modifiers: can be concealed, applied to a wider selection of polygons at any time, used in animation.
Disp Approx – a tool for simulating displacing the object’s surface using height map from the Displacement slot of the assigned material. This effect is only visible in Render View; V-Ray and Corona rendering process use their own Displacement tools.
Displace – a tool for displacing the object’s surface using a texture or height map. Lighter places are extruded further than darker ones. Options allow changing the type of object’s Gizmo. If there is no texture assigned, displacement is controlled by Gizmo’s location. To make the effect more noticeable, increase the polygon count.
Edit Normals – a tool for editing the normals of vertices.
Edit Mesh/Patch/Poly/Spline – a family of tools for editing and modeling objects. Are used instead of converting into Editable Mesh/Patch/Poly/Spline to have an option to reverse the changes. Some tools from Editable are not available.
Extrude – extrudes the spline and turns it into an object with volume. Set the height of extrusion and the amount of edges added, add top and bottom caps. The modifier can automatically create mapping coordinates and assign material IDs. Extrude is often used to raise the walls of the rooms from floor plans.
Face Extrude – extrudes faces along their normals. It is similar to Extrude tool in Editable Poly/Mesh, but it has all the pros of modifiers: can be concealed, applied to a wider selection of polygons, used in animation.
FFD (Free-Form Deformation) – creates a lattice box around the object that gives the ability to deform the object using its vertices: moving, rotating, and scaling. To get access to these vertices, choose Control Points in the modifier’s scroll. To make the effect more noticeable, increase the polygon count.
Fillet/Chamfer – is equal to Fillet and Chamfer tools in Editable Spline but has all the pros of modifiers: can be concealed, applied to several splines at the same time, used in animation.
Flex – simulates deformation of the object in motion. It changes the position of object’s vertices as if affected by momentum. The options allow controlling the strength and type of deformation. Used in animation.
HSDS (Hierarchical SubDivision Surfaces) – refines an object’s lattice. Unlike in TurboSmooth, it allows choosing a part of the object to refine. Supports Soft Selection.
Lathe – creates a 3D object by spinning a spline around the selected axis. Can automatically create mapping coordinates and assign material IDs.
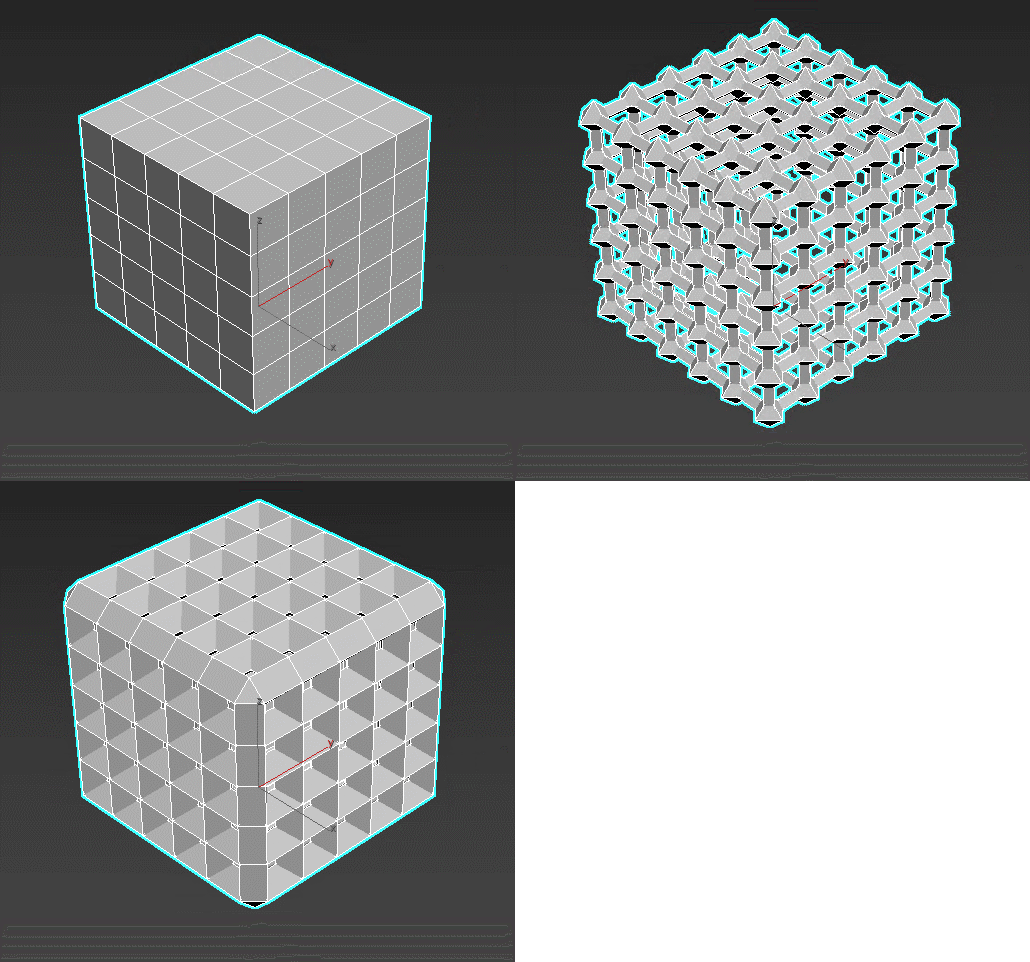
Lattice – transforms the object’s lattice into a 3D object and its vertices into n-gons. You can select the amount of edges in created topology. Can automatically create mapping coordinates and assign material IDs.
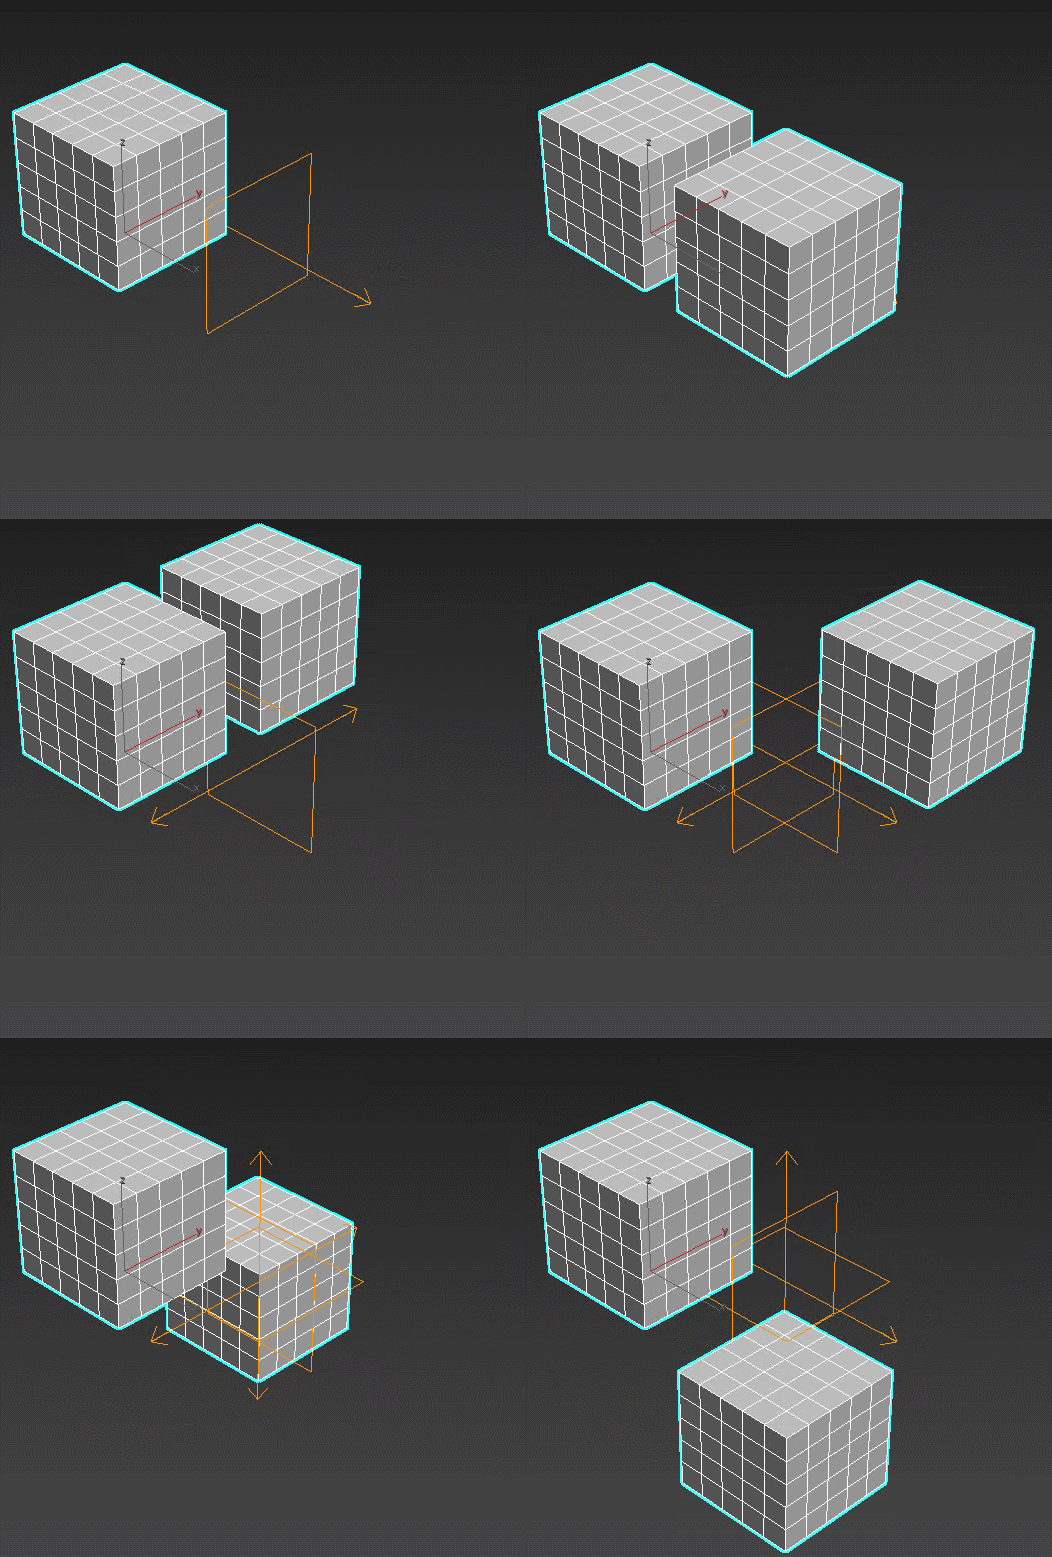
Linked XForm – links the object with a control object. Any actions done to the control object (like moving, rotating, and scaling) will be applied to the selected object too. Used in animation.
MapScaler (Object Space) – preserves the texture map size on the object if its base parameters are changed. Doesn’t work if Scale Tool is used.
Material – assigns material ID to the object. Used in animation.
MaterialByElement – assigns material IDs to the elements of the object. Materials are assigned randomly or based on the chosen percentage. If you are not satisfied with the current assignment, change Seed value and choose the one that fits best.
Melt – melts the object along the selected axis. You can control the strength of the effect through Amount and Melt. You can either choose material presets like ice, glass, jelly, or plastic, or set your own value. The borders of the object won’t change. To make the effect noticeable, increase the polygon count.
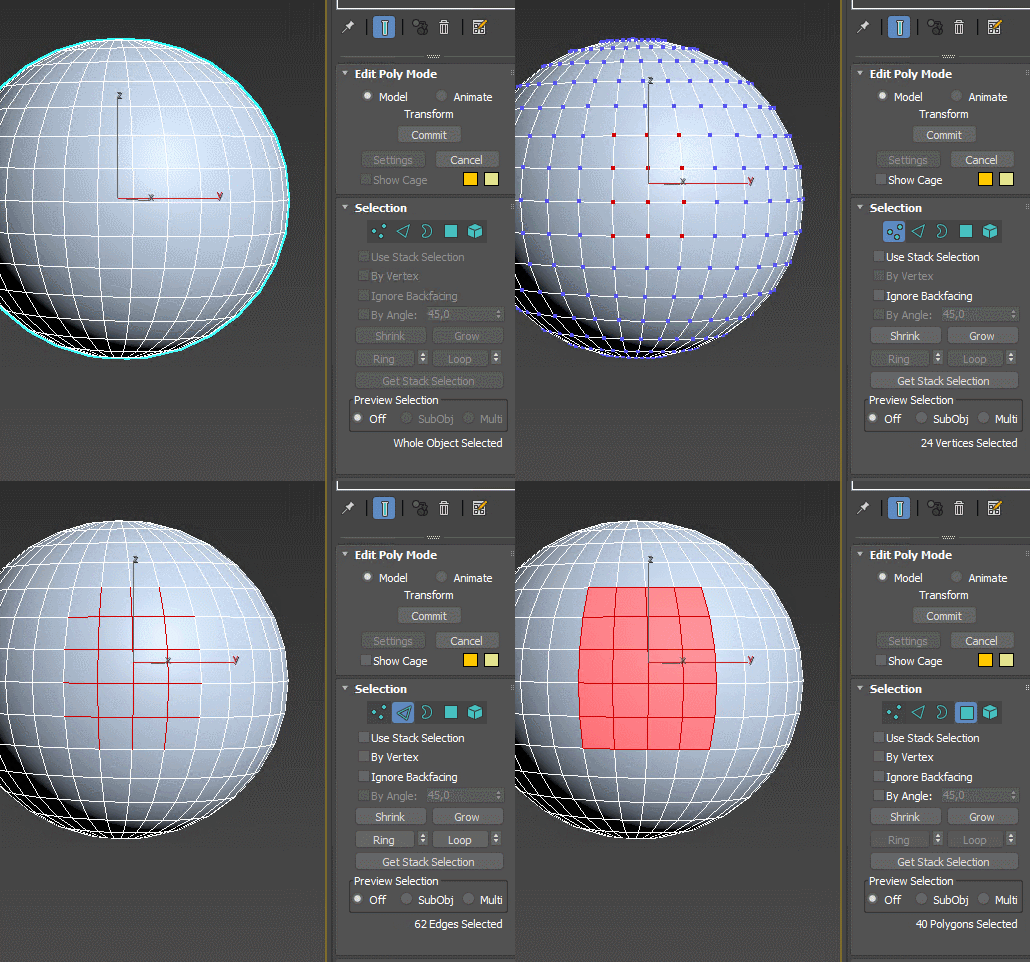
Mesh Select – select vertices, edges, faces or polygons for later use up the modifier stack without converting the object into Editable Poly/Mesh.
MeshSmooth – lattice refining tool that existed before TurboSmooth. Can be applied to an area selected through Editable Poly/Mesh. You can choose the smoothing algorithm and set weight to select vertices.
Mirror – mirrors the object over the selected axis or plane. If Copy checkbox is selected, the original object is not concealed and stays in its original location.
Morpher – a big tool for deforming the objects. Used in face animation for adding emotions and moving the mouth.
MultiRes Modifier – reduces the amount of vertices and polygons of the object to reduce the RAM load. Usually works faster than Optimize and has different options.
Noise – randomly displaces the vertices of the object based on selected parameters. For example, can be used to transform the plane with refined lattice into an uneven patch of ground or ocean. Fractal improves the randomization and makes the pattern look more natural.
Normal – flips the normals. Equal to the Normal tool in Edit Mesh.
Normalize Spline – refines the spline without changing its shape. You can insert the vertices and set the desired Knot Count or Segment Length. The use of the latter option turns sharp angles into curves.
Optimize – simplifies object’s geometry using selected parameters. Similar to MultiRes Modifier.
Preserve – changes the object’s shape to approximately fit the reference. The modifier tries to keep the length of edges, angles between faces, and the volume of the object unchanged. Used in animation.
Projection – creates the Normal Map from a high-poly object to use on a low-poly one. The modifier can align materials and geometry of two objects to prevent distortion. It is used to optimize models after sculpting and before exporting into game engines.
ProOptimizer – an improved Optimize with a new algorithm. You can now set the amount of vertices for the final object. Has a tool for working with edges, normals, vertices painting.
Push – pushes the vertices out along their normals. The effect looks like inflating the object from inside. Using push is a great way to check the directions of normals.
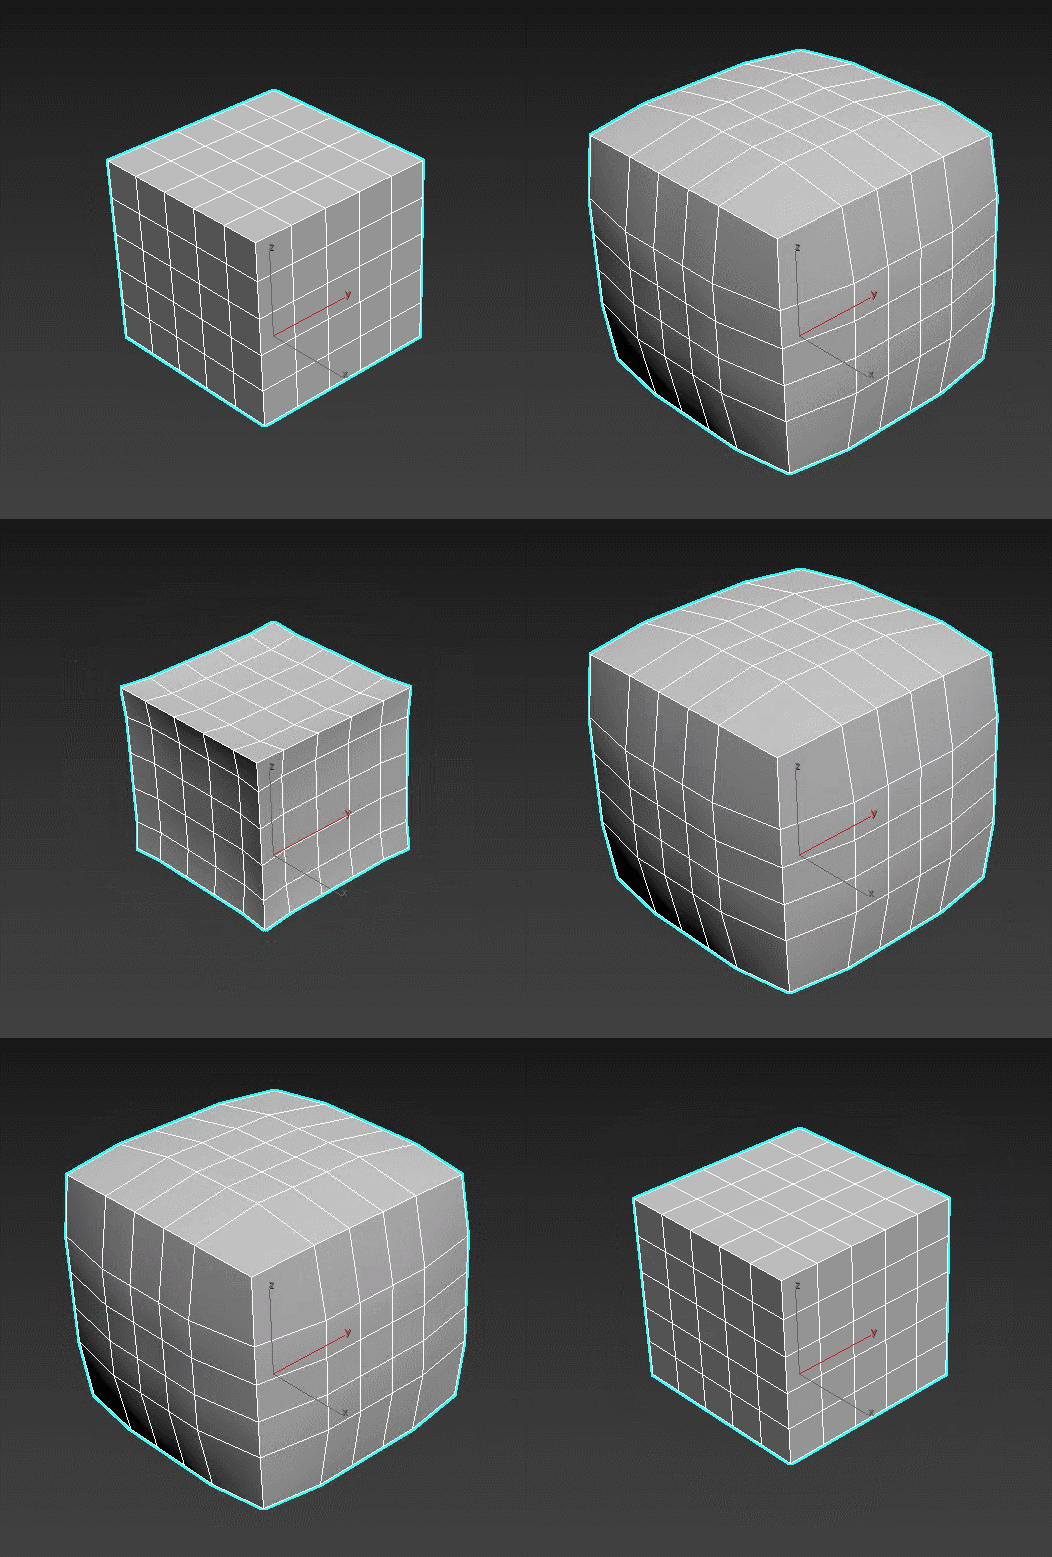
Quadify Mesh – refines faces by dividing them into polygons of set sizes. Good tool to create a lattice on n-gons and circles.
Relax – smoothes the object without refining the lattice. The modifier changes the vertices’ locations and makes the shape smoother. The area of effect can be limited, with Relax Value and Iterations controlling its strength.
Renderable Spline – adds options to make the spline visible during rendering. Equal to the tool in Editable Spline.
Ripple – creates a ripple effect. You can change the amplitude, length, and phase of the created wave. To make the effect more noticeable, increase the polygon count.
Shell – gives the object thickness. You can choose the direction, width, and the amount of edges created. Has additional parameters for smoothing and setting material IDs.
Skew – tilts the object along the selected axis. You can limit the area of effect and adjust Gizmo’s location and direction.
Skin (To Use the Skin) – connects the object to “bones” for further animation. This is one of the basic tools for character animation.
Skin Morph – similar to Skin, but has tools to change the vertices placement in the areas of deformation. Both modifiers can be used on the object simultaneously.
Skin Wrap – similar to Skin. Creates a link between an object and a controlling object.
Slice – cuts the object in two using a slicing plane. Can create new edges, split the object, and remove the cut topology.
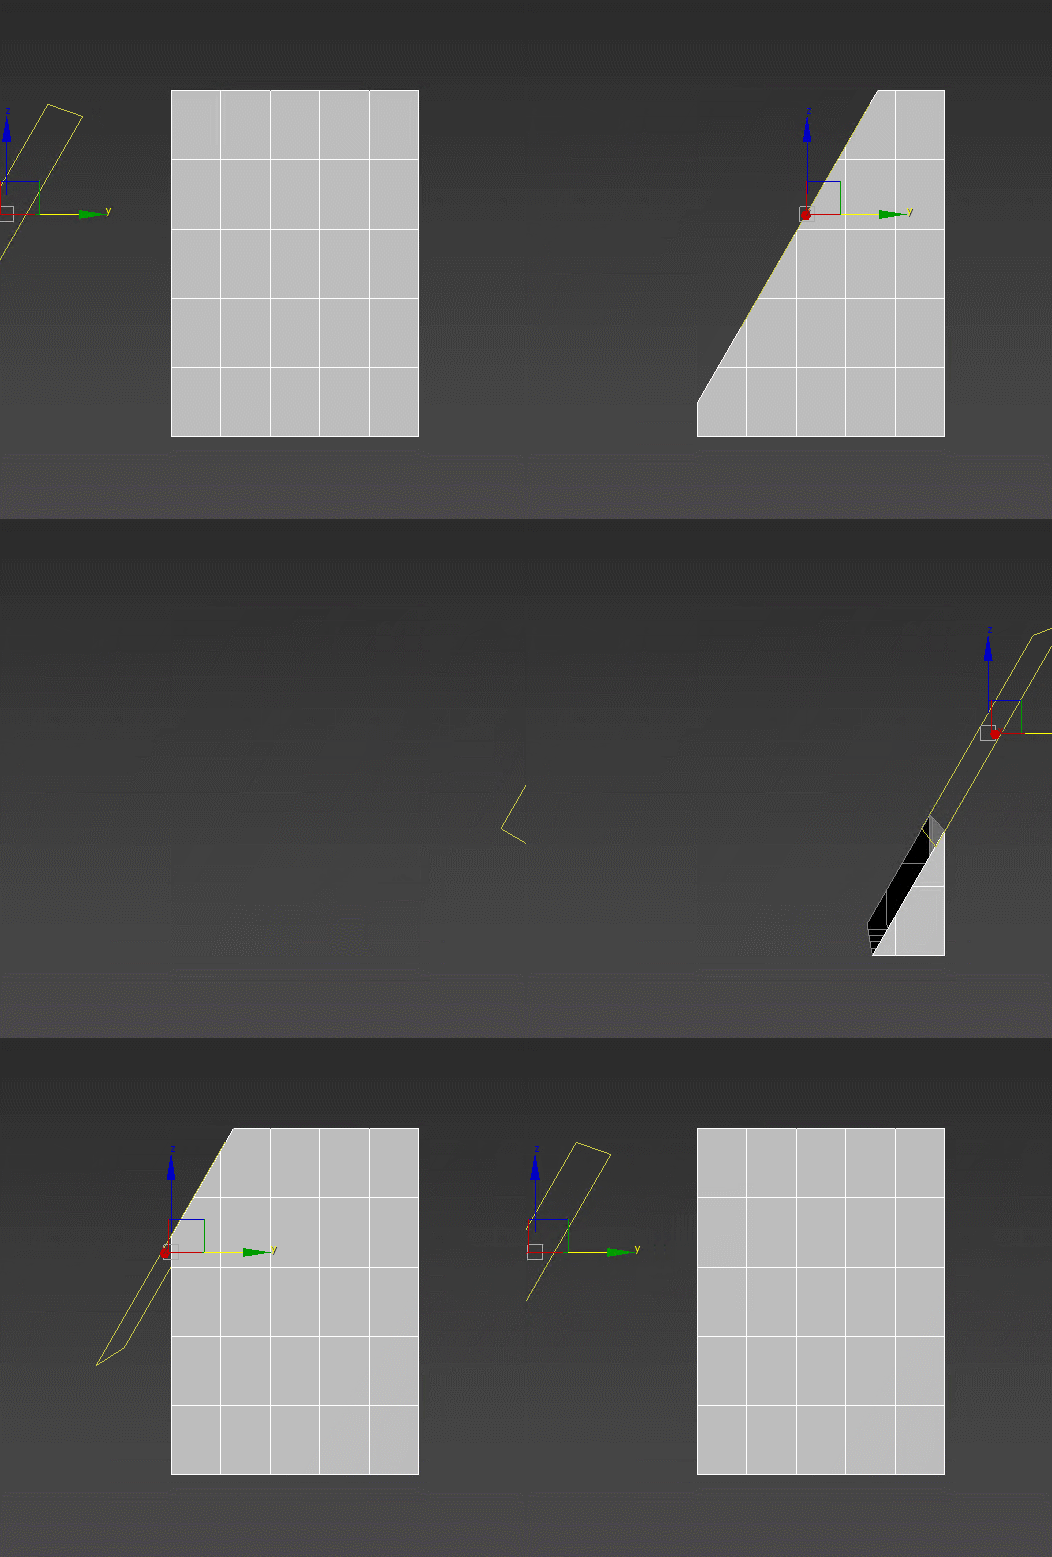
Smooth – a tool for working with smoothing groups. Can fix the artifacts appearing after using other modifiers. Is in no way related to TurboSmooth. :)
Spline IK Control – a modifier for editing the spline through special knots. Can be useful when it’s problematic to return to Spline’s geometry level.
Squeeze – squeezes the object vertically or horizontally, but you can also change Gizmo’s direction. You control the area of effect, strength and rigidity. To make the effect noticeable, increase the polygon count.
STL Check – checks the object before importing it in STL format. Highlights edges with no faces, doubled faces and edges, and faces that are connected with the rest of topology by a single edge only.
Stretch – stretches the object by the selected axis. The middle of the object gets thinner, while the edges stay thick. You can control the length and the strength of the effect and the area it’s applied to. To make the effect more noticeable, increase the polygon count.
Substitute – replaces a 2D object with a 3D one in viewport or render window. New objects are created as instances. Used with imported DWG projects.
Surface – creates a patch from a selection of splines. The density of the lattice depends on selected parameters. Create patches from disconnected splines by increasing the Threshold value. Together, Surface and CrossSection modifiers are referred to as Surface Tools.
Sweep – creates a 3D object by sweeping a spline over another spline. You can choose a pre-existing profile or create your own. Used to create baseboards and frames. Generates mapping coordinates and sets material IDs. If the profile is deleted, the effect won’t disappear.
Symmetry – not only mirrors the object over the selected axis, like Mirror, but also welds two sides together. 3D modelers constantly use Symmetry to create symmetrical objects: furniture, cars, characters, etc.
Taper – narrows down and sharpens the object by the selected axis. Curve controls the sharpness of the edge, while Amount sets its strength. The effect can be limited or mirrored.
Tessellate – refines faces by dividing them into triangles or squares. Has options to control lattice density. Doesn’t change the overall shape of the object.
Trim/Extend Modifier – equal to Trim and Extend tools in Editable Spline but has all the pros of modifiers: can be concealed, applied to a wider selection, used in animation.
TurboSmooth – refines the object’s lattice in iterations, “smoothing” the overall shape. The effect can be set up to be visible only in rendering or viewport. TurboSmooth is the main tool for creating realistic furniture, fabrics, and soft surfaces.
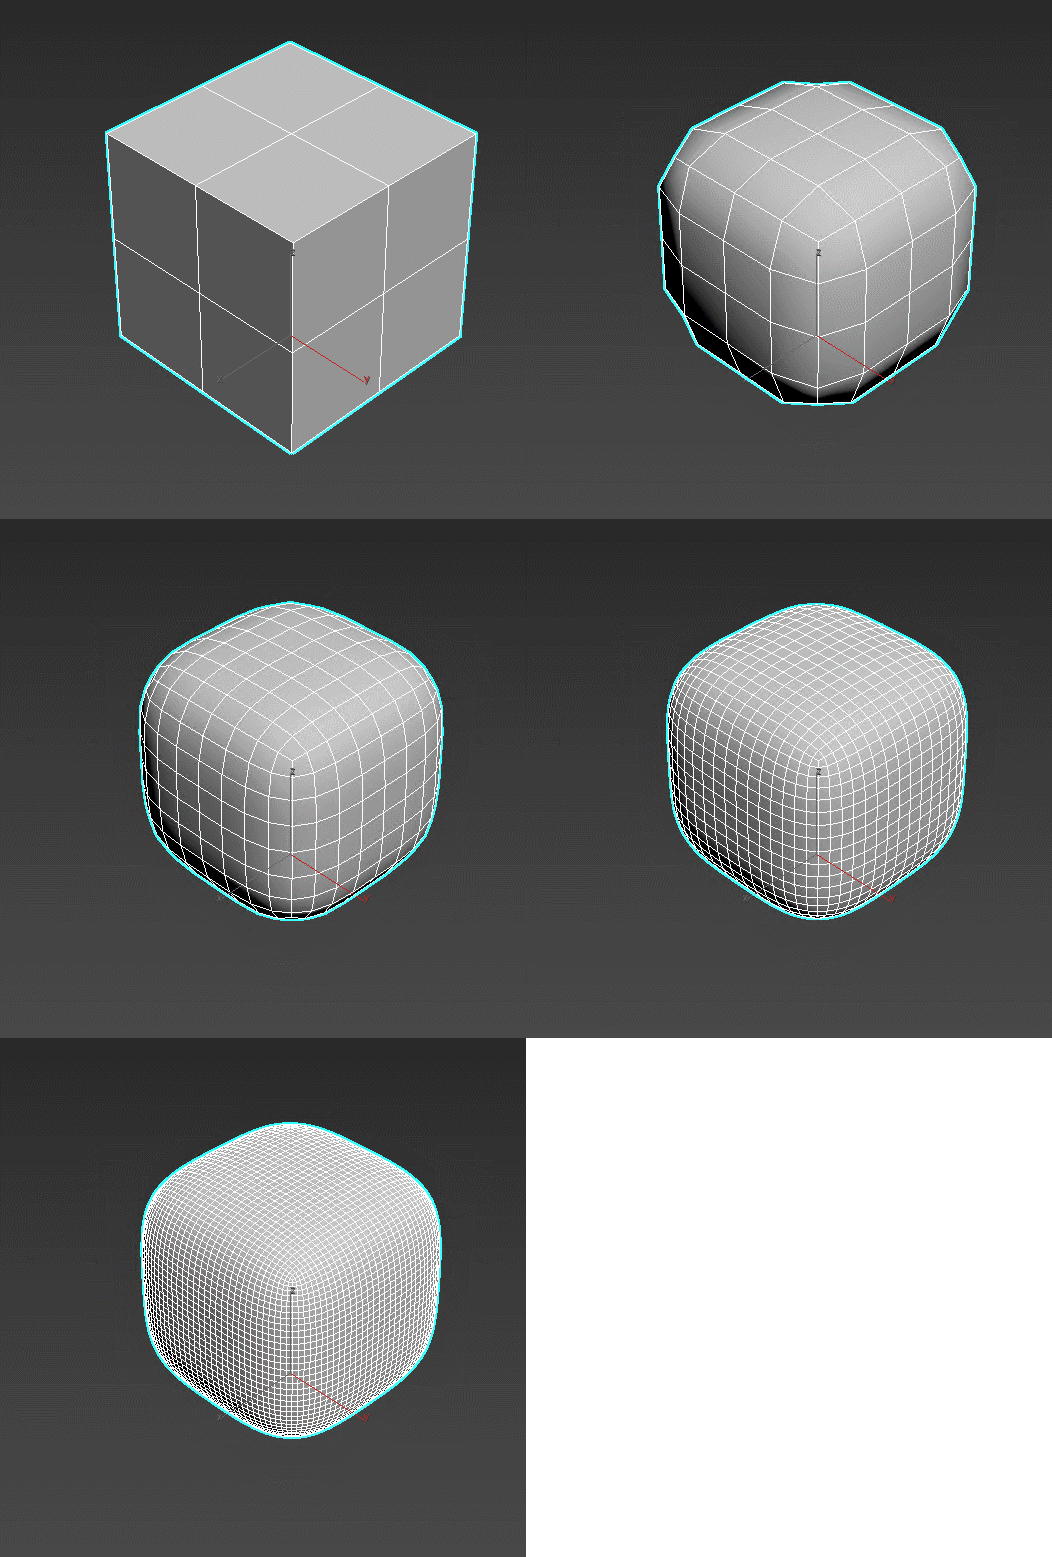
Twist – twists the object around the selected axis. You can choose the twist angle, width, and spread of the effect. To make the effect more noticeable, increase the polygon count.
UVW Mapping – a family of modifiers for applying textures and maps to objects.
Vertex Weld – welds vertices together when they are too close to each other. The distance is controlled by the Threshold value. Equal to Weld tool in Editable Poly, but it has all the pros of modifiers: can be concealed, used in animation.
VertexPaint – colors the vertices for later use by other tools, like Hair and Fur or Scatter. For example, when creating a path through grass.
Volume Select – selects vertices and faces using primitives for later use up the modifier list without transforming an object into Editable Poly/Mesh.
Wave – deforms an object in the wave shape. Parameters are similar to Ripple. To make the effect more noticeable, increase the polygon count.
XForm – lets you move, rotate, and scale the object using its Gizmo. XForm is equal to usual Move, Rotate, and Scale tools, but it has all the pros of modifiers: can be concealed, applied to additional objects at any time, used in animation.
