
At times, it may seem that 3DS MAX is a tool for architectural visualization only, however, it is actually a massive program that can do pretty much anything in 3D. It has tools for modeling and sculpting, retopology and optimization functions, texturing, rendering, and animation systems. 3DS MAX animation has a reputation for being subpar compared to other software with a more narrow focus. However, in the last few years, Autodesk implemented new tools and improved the old ones to make the animation workflow much smoother. Let’s take a look at animating in 3DS MAX, from the basics to more advanced tools.
Your first 3D animation
This part is a step-by step guide for new users on how to create the easiest animation. You need to already be familiar with the interface and know how to create basic shapes and apply materials to follow this tutorial. We will describe each step and provide screenshots.
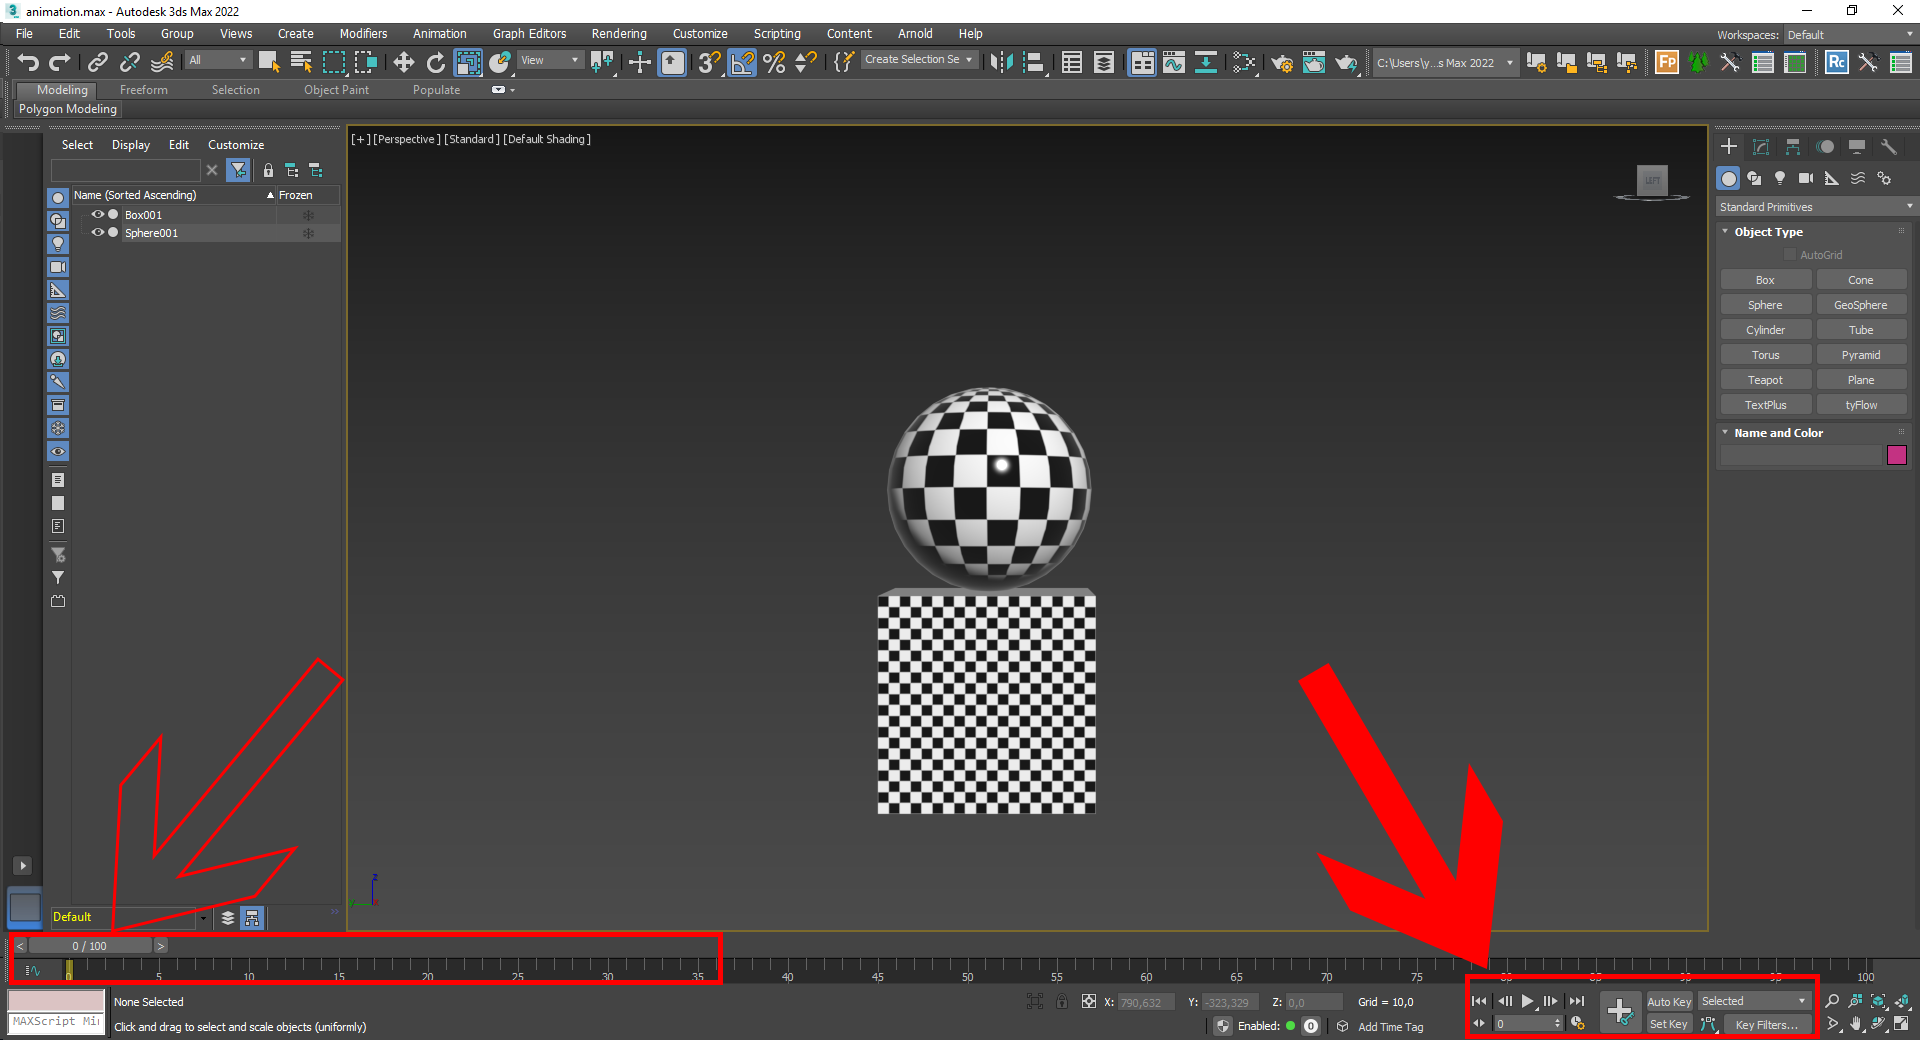
Basic work with animation happens with the tools at the bottom of the screen: Time Slider and Track bar (to switch between the frames), as well as different animation controls (to create the steps of animation called key frames, or keys). Each key is set up manually and it represents the fixed point of an animation. 3DS MAX then calculates the position and transformation of the animated objects between these keys.
|
|
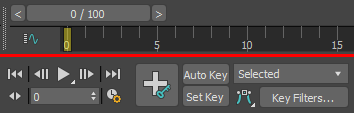
Time Slider and Track bar (top), |
Let’s start with creating a sphere and a box, and then put the sphere on top of the box. Assign checker texture to each, so it is easier to understand how the objects are moving. Move the Time Slider to frame 10. Now click the Auto Key button, select the sphere, and move it up the Z axis, as if it is jumping above the box. A red rectangle appeared on the Track bar - this is a key you’ve just created. Now go to frame 20 and move the sphere back into the first position. Toggle off the Auto Key mode. Now if you move the Time Slider or play the animation using the control buttons, you will see the sphere moving up and down. Click the Auto Key button again and set up additional keys on frames 30 and 40 with the sphere going up and sideways and then landing on the ground. Toggle off the Auto Key mode.
It’s moving! But clearly it doesn’t look very realistic. Let’s add rotation to the sphere to show that it is rolling when moving sideways. In Auto Key mode, go to frame 30 and rotate the sphere 90 degrees on the X axis, and another 90 degrees at frame 40. Toggle Auto Key off and play the animation. You can see that the rotation starts much earlier than frame 30, this happens because we didn’t have a Key for rotation before so 3DS MAX automatically created one at frame 0. To fix this, go to frame 20 and set the rotation on the X axis back to 0 (use transform values under the Track bar). Now the sphere won’t rotate before it moves sideways when you play the animation.
Keys can also be set for scaling and changes in 3DS MAX modifiers and materials. Make this animation longer to practice working in Auto Key mode. Don’t forget that keys are unique to each object: if you don’t see any keys on the Track Bar, you may have selected a different object. Always remember to move the Time Slider first, then change the parameters you want to animate.

Set Key mode works a little bit differently than Auto Key mode. Choose the frame, then move your objects how you want them, and finally press the Set Keys button (K is a shortcut). Only after pressing the button will your key be created. This way you have more control over which actions are recorded and when. Be careful though, if you move the Time Slider before setting a key, all your changes will be lost and the state of an object will revert to the state of the previous key. This mode is good for animating more complicated objects, where close control is required. Each key created this way contains all the transformation channels even if they were not changed between the keys.
So, what is happening?
Animation in 3DS MAX works similarly to traditional animation. First, the key frames are created, then the rest is filled in between them. Only you don’t need to draw each filler frame, 3DS MAX does it for you. The changes to the object’s transformations are represented as curves which can be accessed through the Curve Editor - one of the most important animation tools. It can be accessed through the top menu, Graph Editors -> Track View - Curve Editor. If you have the sphere selected, you will see an assortment of color-coded curves in this new window. On the left side, you can pick one or several channels (like Position, Rotation, and Scale) to see the curves specific to them. The icons at the bottom provide more tools for filtering different curves in complex animations.
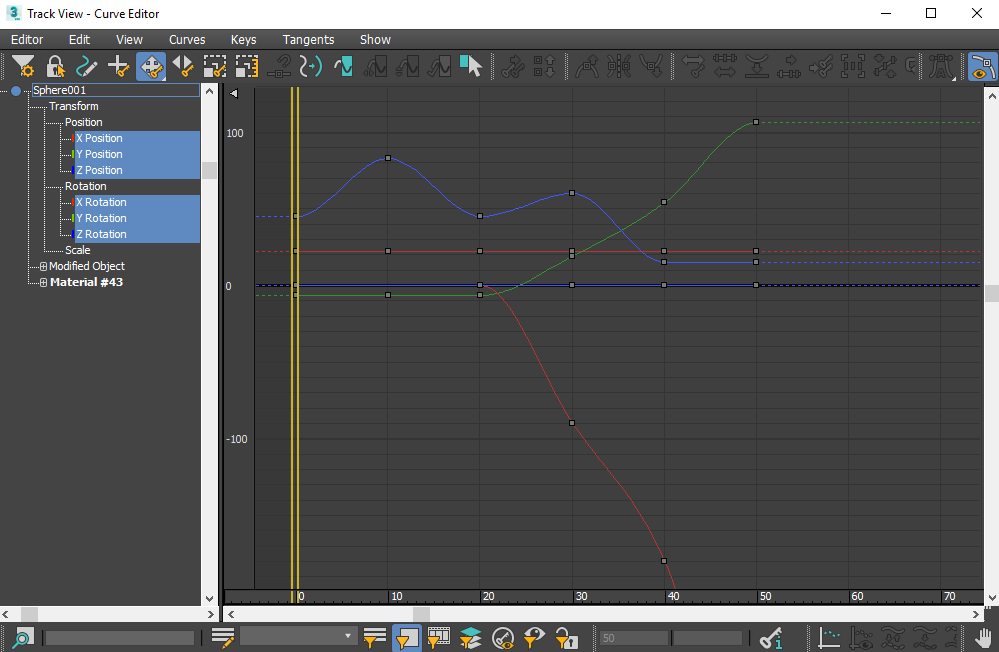
The shape of the curve controls how the animation behaves. By default, 3DS MAX makes the curves ease in and out of the transformation, that’s why the curves look so smooth and twist even when it’s not necessary (for example, the X Rotation curve). You can change the curve of the tangents at any or all keys by using the ‘Set Tangents’ button in the top right.
When Auto Key or Set Key modes are disabled, you can move the keys from one frame to another to fine tune your animation. This can be done both in the Curve Editor and down at the Track bar, though Curve Editor offers additional tools like Slide Key and Scale Key. At any point you can also remove a key the same way you delete an object, and 3DS MAX will recalculate the curves accordingly.
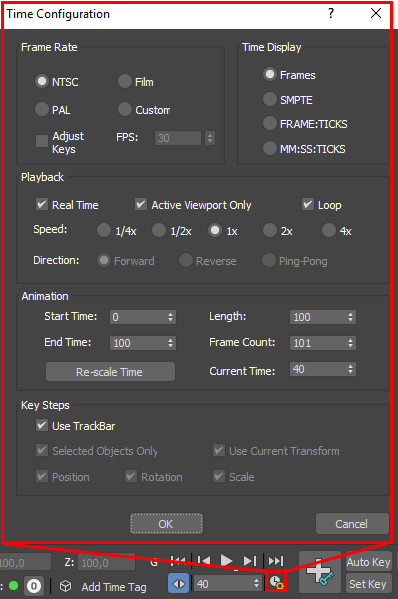
Now let’s take a look at the tools available in the animation controls menu. To easily jump between the keys, use Key Mode Toggle. In the field next to this toggle, you can manually jump to any frame by typing in the frame number. The next button opens the Time Configuration window, where you can set the overall length of your animation, change the playback speed and choose a frames per second ratio (FPS). It is better to change these settings before creating your first keys so that you can be certain of the speed of your animation.
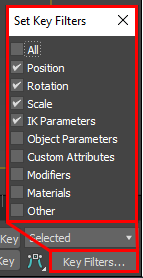
As previously mentioned, Set Key mode creates keys for all of the transformation channels, even if no change was happening. If you need only one or several channels keyed, pick them in the Key Filters menu. This way, you can be sure you are only animating the materials, your custom parameter, or simply one of the transformations. The icon to the left of the button is a selection menu for the type of tangent 3DS MAX creates by default. Pick the one most suited for your needs.
This was a first look at key features of 3DS MAX animation and the basic workflow. We’ll showcase advanced tools in a separate article. At our CGI Academy we post tutorials, tips and tricks, and overviews of different 3D software and techniques. When it comes to rendering your finished projects, Megarender online cloud render farm provides an easy-to-use service to improve your workflow.


