
Visualization results depend on many factors: texture and 3D model quality, design, lighting, and render engine settings. But sometimes the main thing that ruins a scene with good materials and objects is frame composition that wasn’t given enough thought. Let’s look at some techniques that will help you improve any image.
Camera
Starting from the technical side of things, it is important for interior visualization to show inner space the way a client would see it. That’s why the camera should be placed at eye-level, around 1600-1650 mm above the floor. But this value can change if the project is being created for a tall or a short person. The camera can be moved lower or higher when the frame asks for it – for example, when we are showing our interior as seen from a chair, over a table, or from the second floor.
Pay attention to the camera’s tilt parameter and always choose automatic correction when available. All vertical objects should be vertical and all explicitly horizontal ones should be horizontal. Accidental tilts lead to deformation of geometry. Exaggerated perspective can add interesting effects to architectural visualization of tall buildings, but a slight tilt in an interior shot simply ruins the picture.
The frame’s width should be controlled through field of view parameters more than through the distance of the camera from the object. If you can set FOV through focal length, use values from real-world cameras. The higher the value, the narrower the field of view is, and the fewer objects can fit in the frame. For small rooms, use focal length of 14-21 mm (common for wide-angle lenses); for other spaces and item-focused shots, 35-50 mm will do.
Try to make sure all the essential objects fit in the frame and are not cropped at the sides. Alternatively, cut off a big part of an object to pull attention away from it. Any furniture that only has a small side or corner cropped, creates an urge to take a step back to see the whole thing.
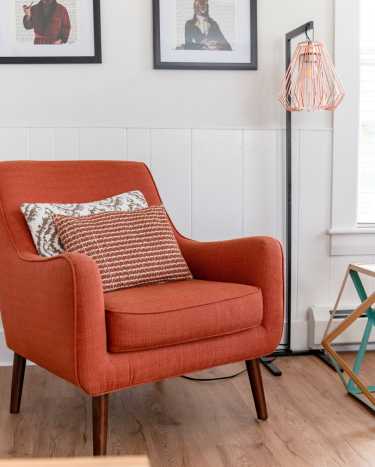
Andrea Devis / Unsplash
In this image, the side of the armchair, table and frame tops are cut off, and only a small line of the window frame can be seen. Moving the camera a step back would have allowed us to see the whole scene and improve the composition.
Image idea
Before setting up the camera, think about what the main idea of your image is. Decide what is the most important part of it. If you are working with a designer, ask them which parts of the interior are key, or make your own guess. It’s important to come up with a plot for your image, lighting scenarios, and emotions of the viewer.
It could be important to you to show how much free space there is, highlight the dining area, create a sense of cosiness, amplify straight lines, focus on decorations, draw attention to the choice of colors, etc. The kitchen could look perfectly clean, as if right after installation, or be filled with signs of use with the table set for dinner. A new building can stand out in the neighborhood or blend in with it.
Make sure to choose such ideas and work on implementing them. Plan and plot to fill the image with meaning, and it will raise its overall quality.
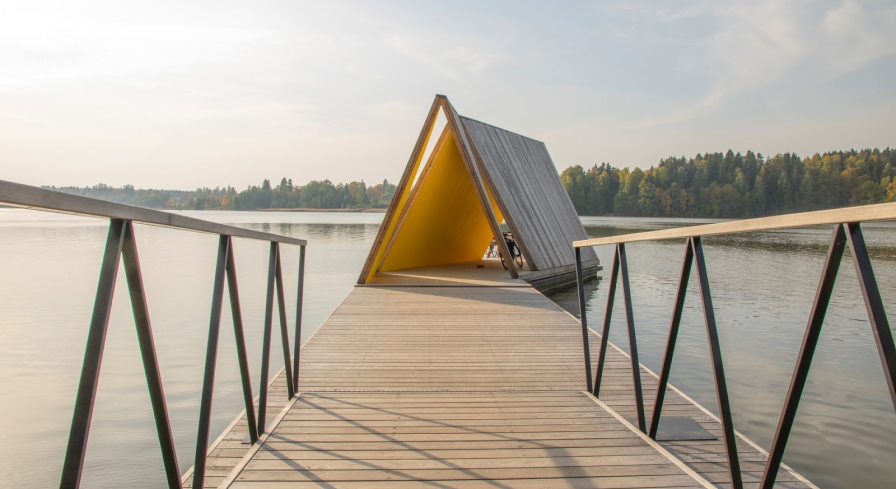
Julius Jansson / Unsplash
This frame invites us to approach the pavilion, shows us the way, and encourages us to take the first step.
How to lead the eye to key parts
After deciding which objects and areas are key, start setting up the frame. Remember the rule of thirds: divide an image with two vertical and two horizontal lines. Key objects should be placed closer to the crossings, where the eye will immediately spot them. For outside shots, the horizon should be close to one of the horizontal lines. If you place your object in the middle of the frame, make sure you have a good reason for it, such as showing its symmetry. Symmetry always holds some meaning, such as showing austerity, logic, or balance.

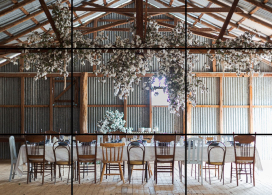
Luisa Brimble / Unsplash
The table and chairs are situated in the middle of the frame and are symmetrical – it shows the length of the table and hints at the amount of guests invited. At the same time, the table and the ceiling beam are placed right on the lines of “thirds”, which improves the harmony.
The brain notices lines in any image and leads the eyes over them. Use such lines in your works. Lines can be created by water edges, counter sides, fabric patterns, corners of buildings, etc. Lines should lead the eyes to key objects and point to what to look at.
Foreground objects can be used as a vignette or a frame. This way, you can highlight the edges of the space and main area even more. You can use trees, edges of furniture, or doors and walls for this purpose.
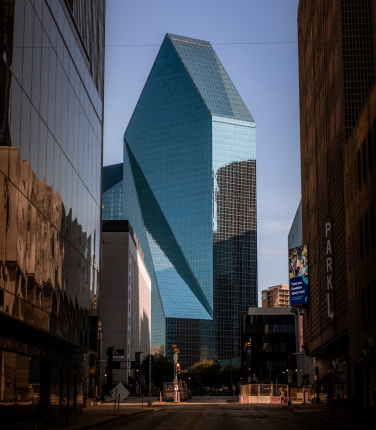
Corey Collins / Unsplash
The dark buildings at the sides create a vignette and aim the eye towards the blue skyscraper.
Focus the camera on key objects. Even the slightest blur of foreground and background will make the scene look deeper and more interesting. Gaze is attracted by contrasting colours, patterns, darker or lighter spots. You can aim light from lamps or regulate the angle of sunlight. Always remember that shadows are an important zoning tool too.
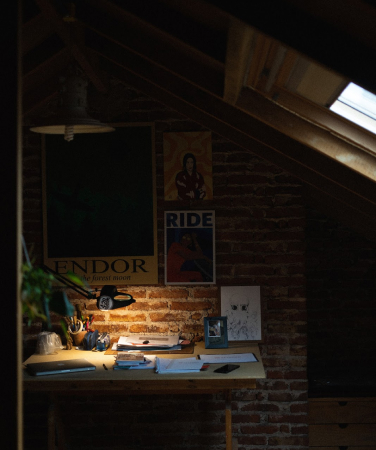
Martin May / Unsplash
The eye immediately finds the desk, highlighted by the light source, and only then starts exploring other details.
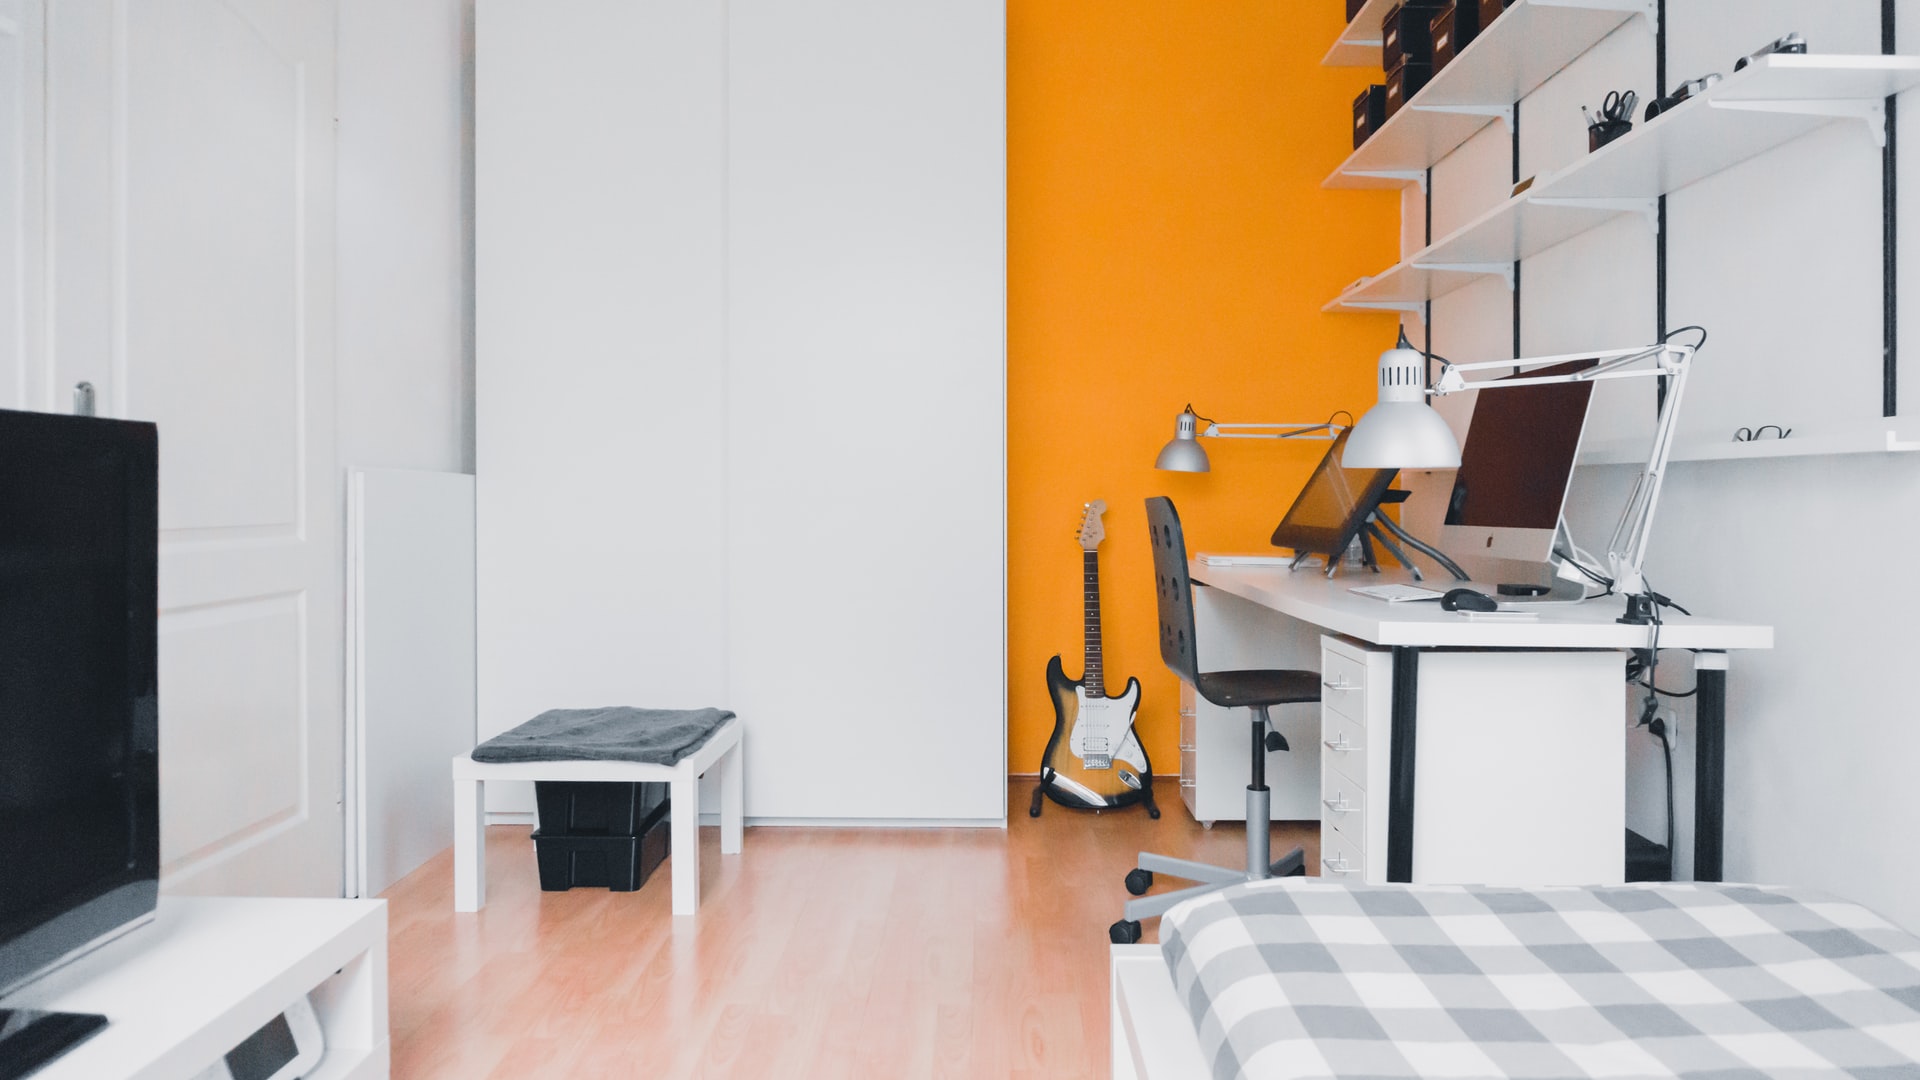
Norbert Levajsics / Unsplash
The main zone is highlighted by a bright wall. The majority of items are grouped there, while the edges of the TV and the bed play the role of a vignette.
This article is part of Megarender’s series for new visualizers. We write about tools and techniques for improving and optimizing your work. And for fast rendering, use Megarender online service.


